Step 1: Prepare materials. Fine lumbers are seasoned and kiln dried to the appropriate humidity level before they are used.
|
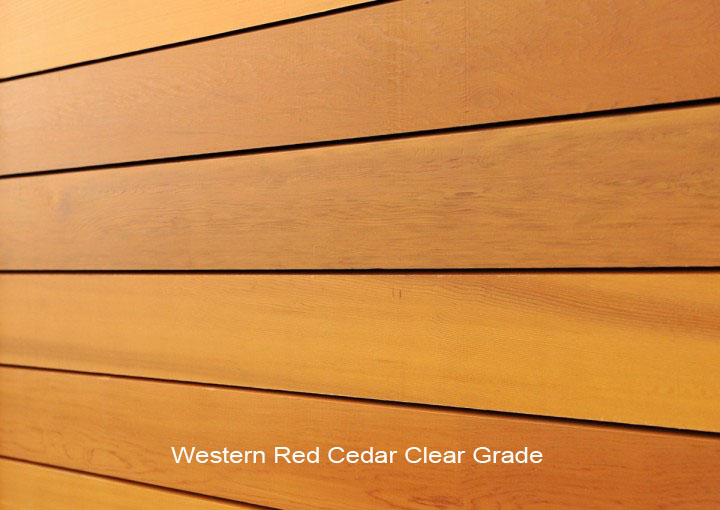
Great products are made from great materials. We acquired the best materials from around the globe
including clear grade western red cedar from Canada, exotic woods from south America and Asia, U.S. made Gorilla glue,
US Hexcel fiber glass, and other top of the line materials.
Products made of western red cedar are not only beautiful but also free of cracking or warping.
|
 |
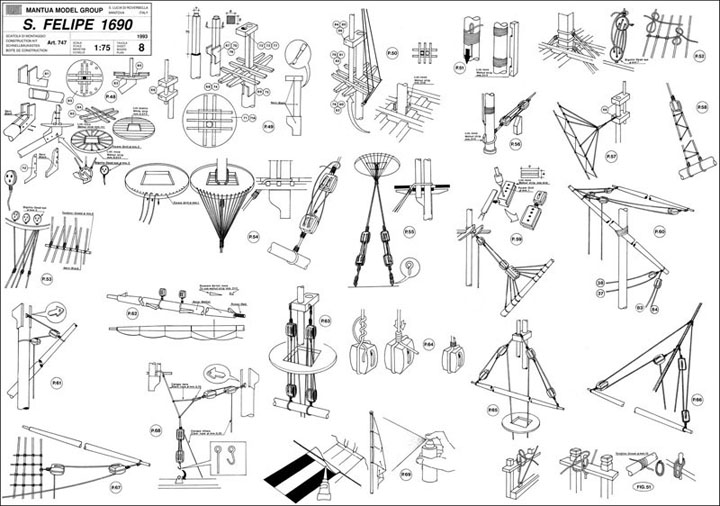
Step 2: Research. Extensive research through original plans and pictures are completed so that we have all correct information to build an authentic model.
|
 |

|
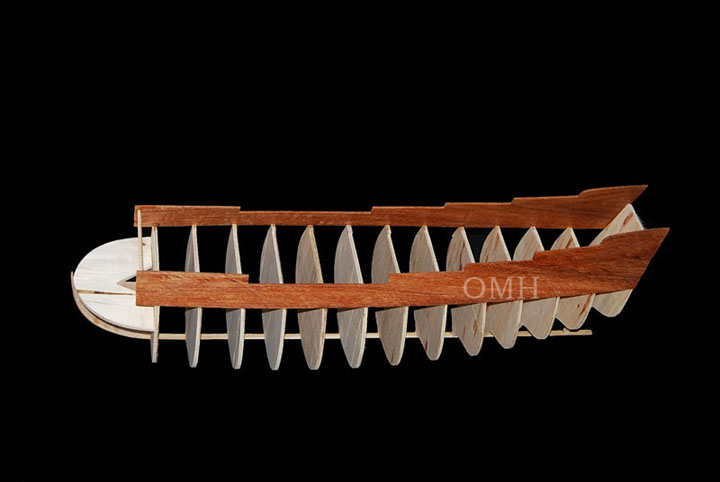
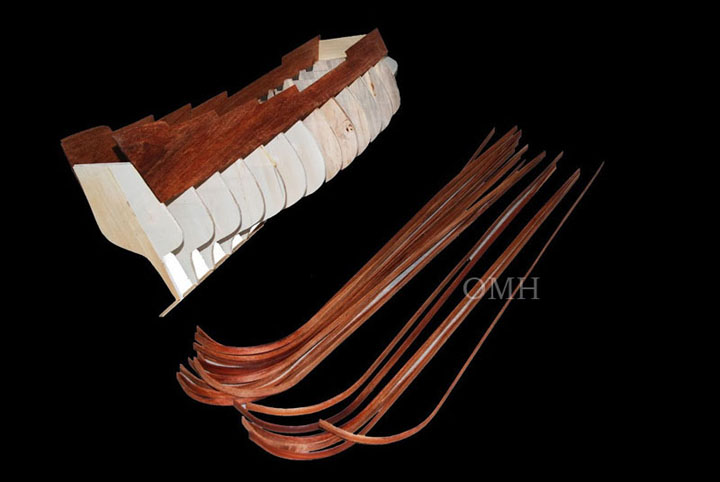
Step 3: Start building. Build the keel, bulkheads and gunwales. This step is very important to get the model into ship shape.
|
|
|
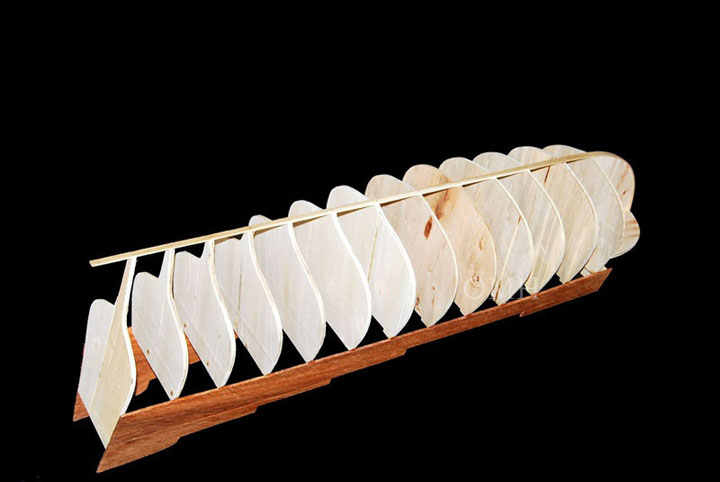
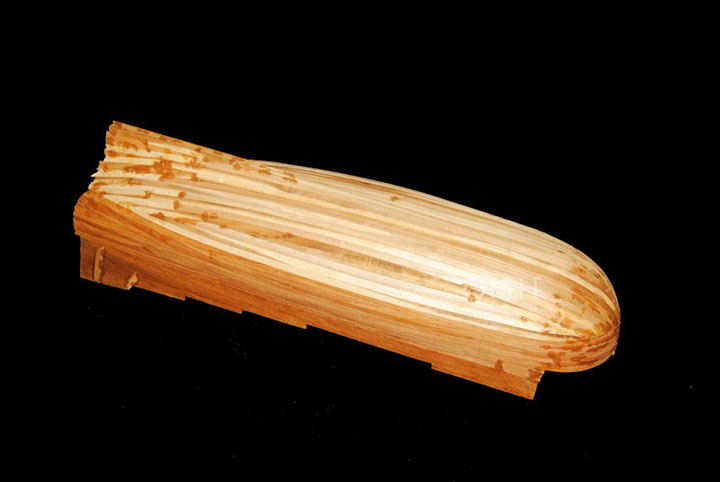
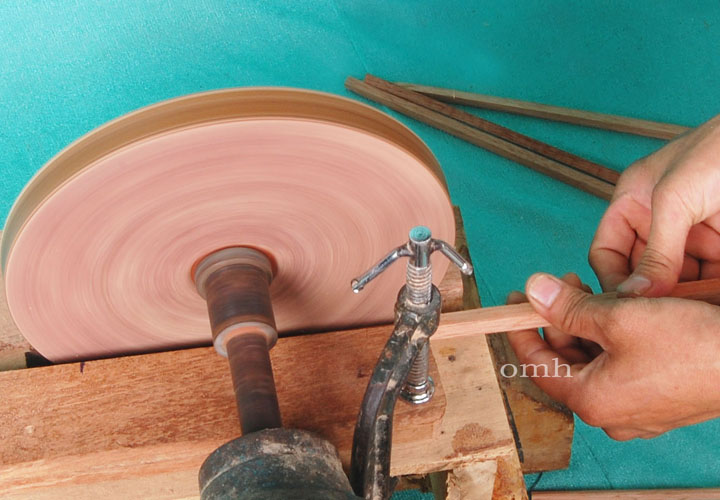
Step 4: Plank. Planks are cut and bent to the shape of the hull. Each plank is then glued to the bulkhead carefully.
|
|
|
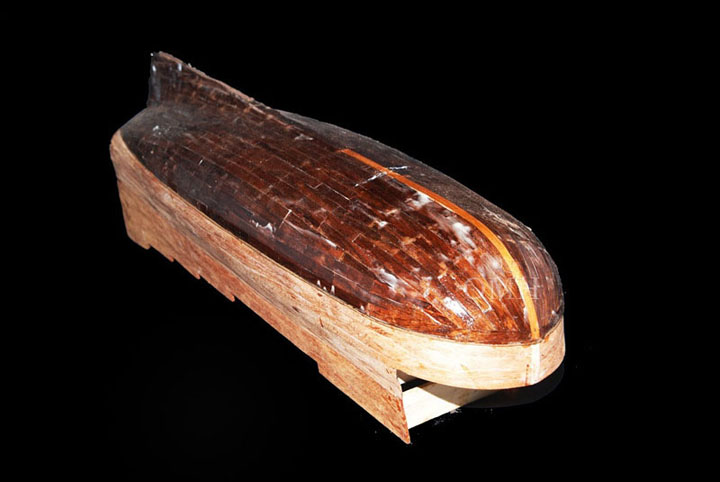
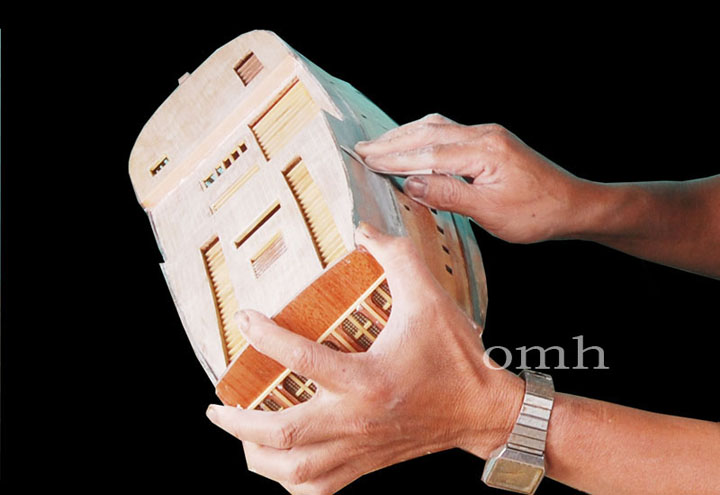
Step 5: Plank some more. A second layer of planking is done. In this particular ship, the second layer consists of many small pieces of wood to form an inlay hull. Planking is a time-consuming process but makes our models much more attractive.
|
|
|
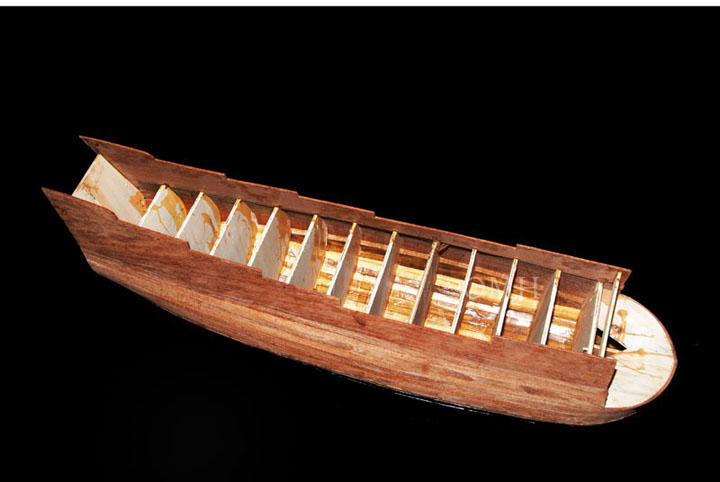
Step 6: Glue. Glue and epoxy are poured evenly into the inside of the hull. Top quality, wood glue is used adequately for planking and to make sure the hull will not split due to humidity changes.
|
|
Step 7: Sand. The hull is sanded repeatedly so that the surface is as smooth and shiny as fine furniture.
|
|
|
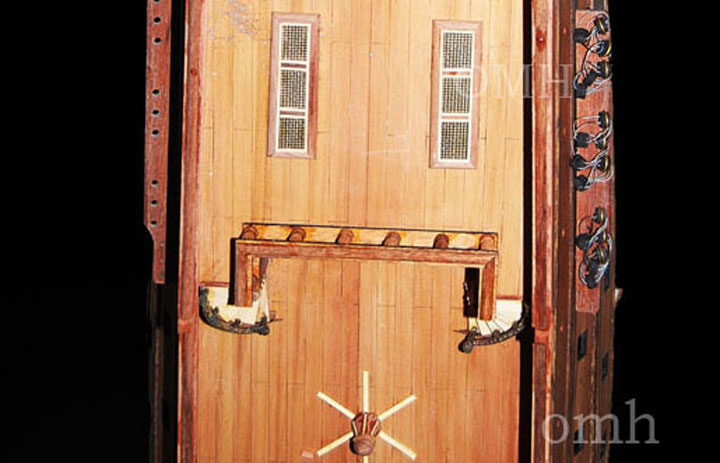
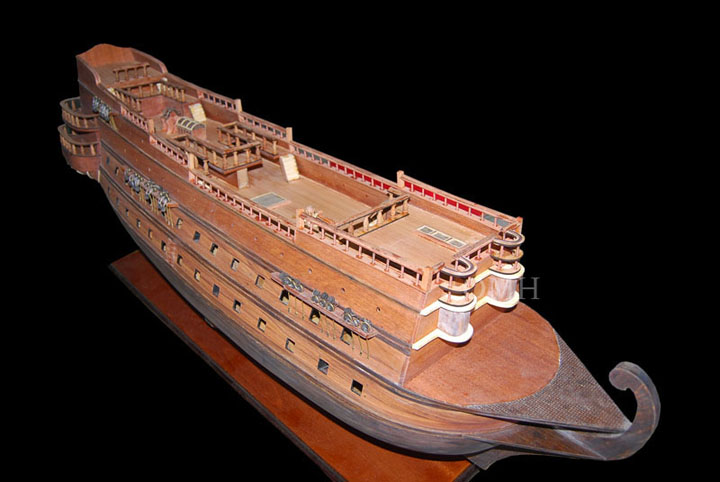
Step 8: Install the deck. Notice that the deck is laser cut to imitate the actual deck of the original ship.
|
|
|
|
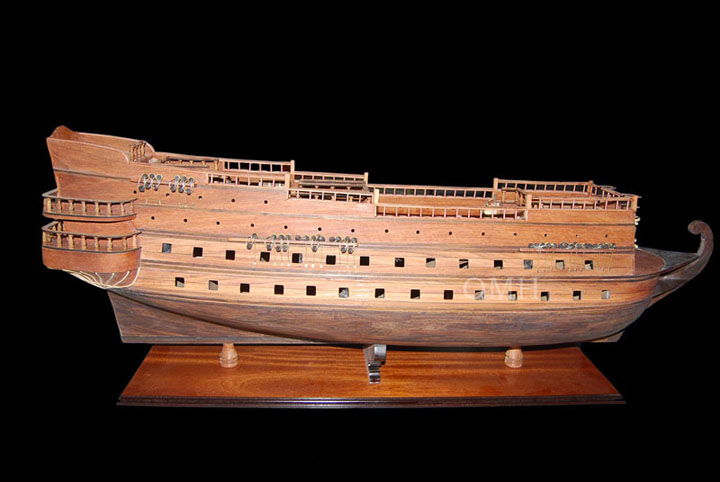
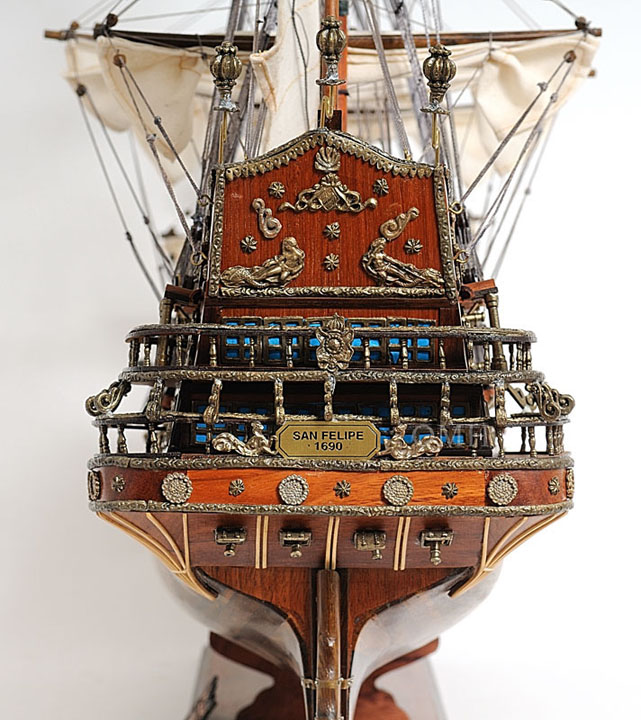
Step 9: Build stern details. The ship stern section includes admiral cabin, chart house and other details. |
|
|
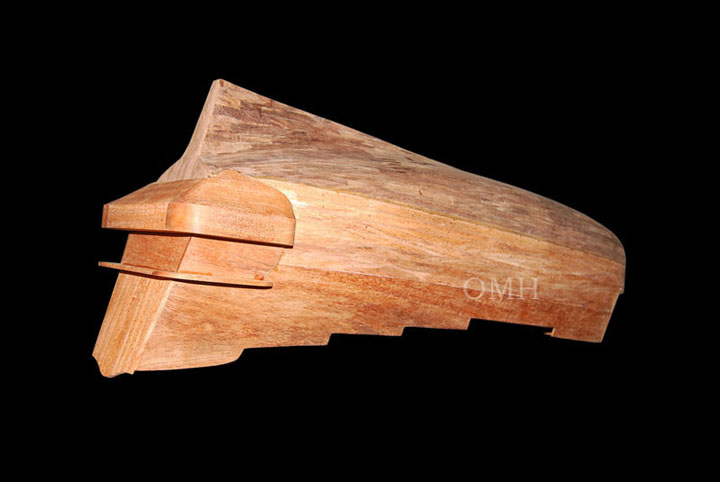
Step 10: Build bow details. The ship bow section includes the bow sprit, bow sprit yard, beak-head, and other details.
|
|
Step 11: Drill. Gun ports are drilled along the sides of the ship.
|
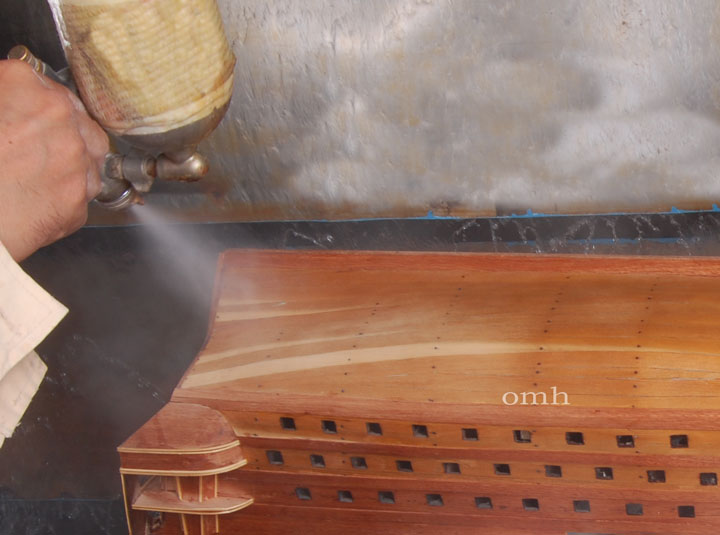
Step 12: Paint. The hull is painted with several coats of clear or solid color. Please examine the model to see that our paint job is done very carefully.
|
|
|
Step 13: Build masts. Masts, including the main mast, foremast and mizzen mast are built. The yard arms and crow’s nests are also added at this step.
|
|
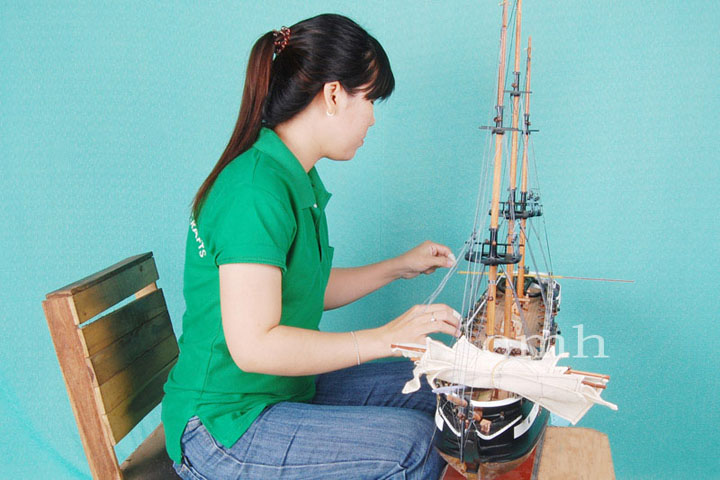
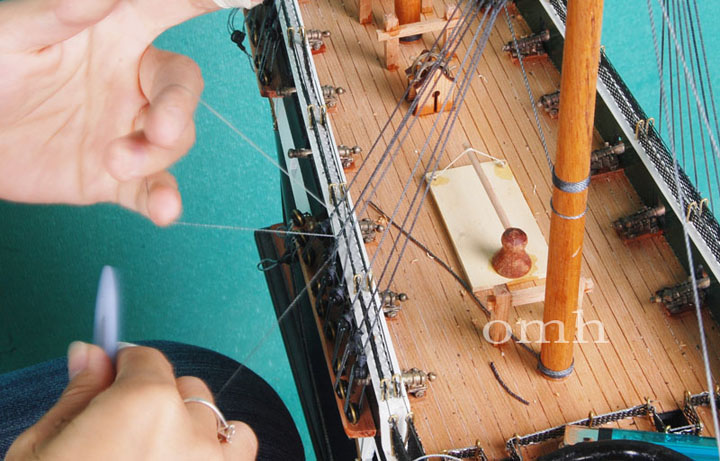
Step 14: Rigging. This is a very tedious process that takes our craftsmen many hours to complete.
|
|
|
Step 15: Build railings.
|
|
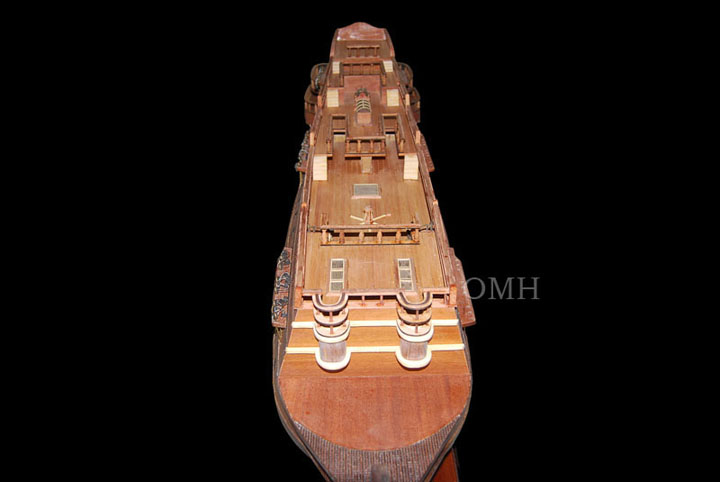
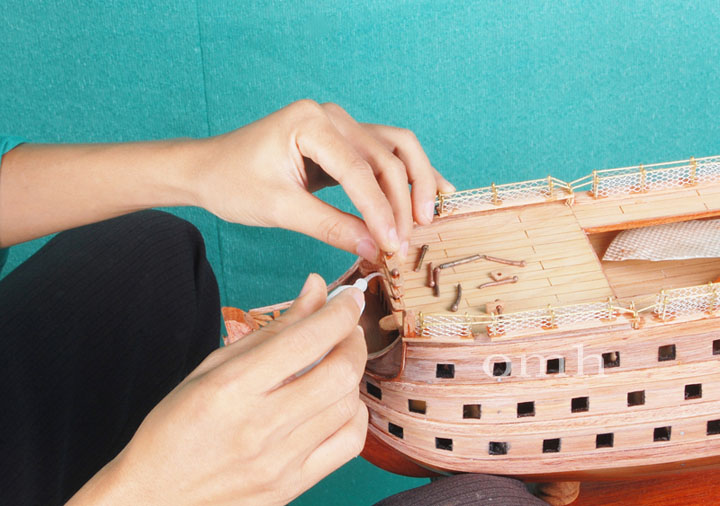
Step 16: Build deck details. Other deck details are added: Lanterns, boat davits, ship’s wheel, life boats, deck rooms, belfry, staircase, skylight...
|
|
Step 17: Add the sails. The sails are all hand stitched with fine details. They are also seasoned to make the sails look and feel like real.
|
|
Step 18: Finishing touches. Finish up with brass sculptures and decorative ornaments. Our brass ornaments are done in-house. The ornaments are all casted from metal by hand by our skillful craftsmen.
|
|
|
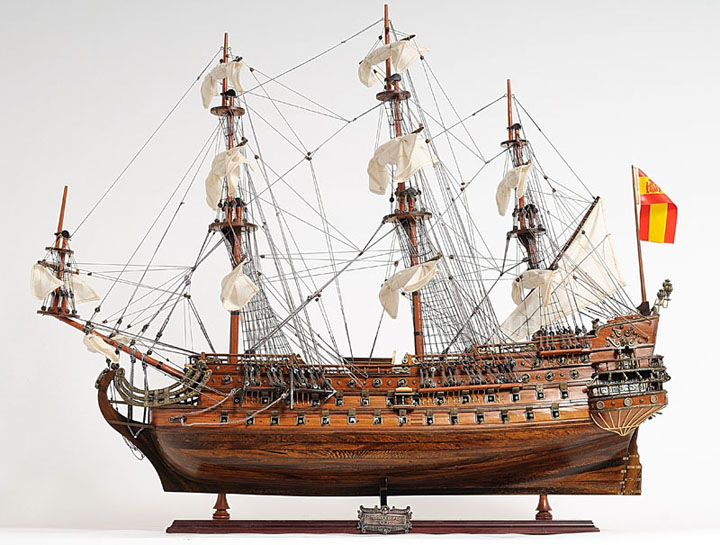
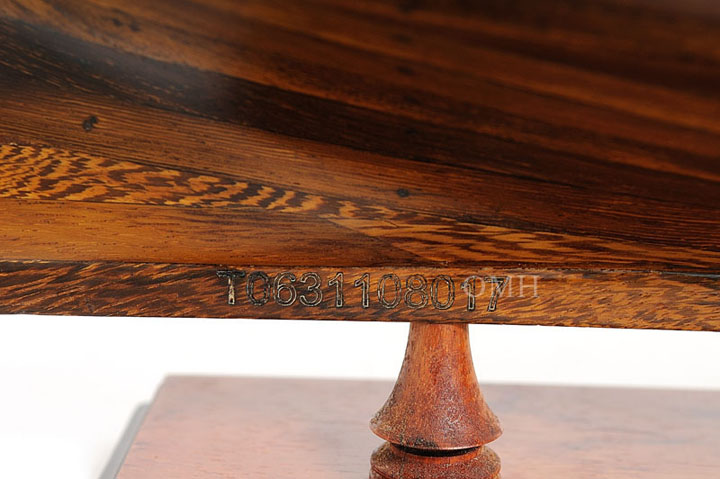
Step 19: Quality control. A final quality control process is conducted to make sure our models are historically accurate, detailed, well-built, and attractive. Each OMH model is uniquely identified by a serial number. |
|
Step 20: Packaging. In this final important step, the ship is packed in a sturdy wood crate and then put in a nice carton box with cushion for maximum protection. We also perform a drop test to make sure the package is safe in shipping.
|

|

|
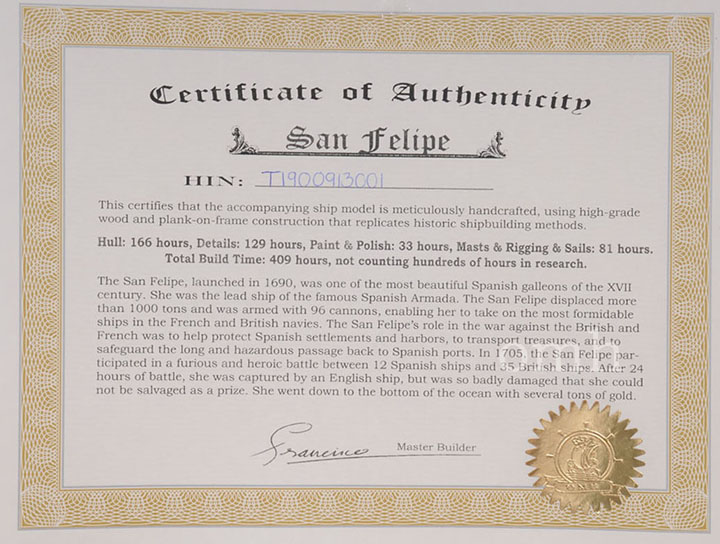
OMH ship models come with a certificate of authenticity signed by our master builder.
|
|